
Avrae is a very capable D&D discord bot made by DnDBeyond. It’s complicated. In the spirit of ‘complex tools, used simply’ I want to share how I use it when I’m GMing a game.
I have a go-to set of 10 or so commands that I can remember and that I use. I’ve tried to use more of it in the past but my brain has been full for a long time and I can’t pick up these tools like I used to. As always, you may conclude differently. This is what I do, not what I think you should do.
Setting up Avrae
Most of the time, if you’re playing with me, you won’t know that I’m using Avrae. I have a separate channel in discord that I use to talk to the bot. This has a couple of useful side-effects – I can use it to look up stuff and make rolls without the players seeing and I get a convenient history in that channel of all the avrae commands I’ve used in the game.
I’ve tried introducing avrae to players by having it available out in our #gameplay channel but I’ve found that even if you’re playing with someone who can make it sing like a stradivarius, you’ll still get a lot of autogenerated noise, especially when mistakes are made. And I’ve found that at least one player will be sat there wondering what the hell is going on.
I have avrae connected to my DnDBeyond account – I’m guessing I did this by following the invite process on their site but it’s so long ago I don’t really remember.
Importing characters
Before every game, I update avrae:
!update
And then I import any new characters using the URL of their character id:
!import https://www.dndbeyond.com/characters/[character_id]
Creating character tokens
!char list
will give you a list of available characters
!char [name]
will let you switch the current character that commands in avrae run against. I usually just use a the first few letters of a character’s name to run this command. If it’s ambiguous, avrae’ll give you a list of characters to choose from.
!token -border none
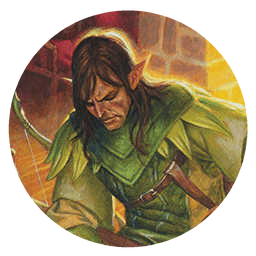
will give you a nice round token for the character with no branding. I use owlbear rodeo and can usually just drag that token into the game.
!portrait
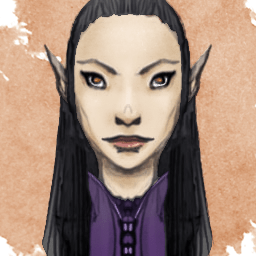
this will give you a square portrait if you want to stamp the token in a different way.
Creating monster tokens
I have two ways that I use to make monster tokens. You can create a nice round token – but unfortunately you can’t remove the DnDBeyond branding . I guarantee one of your players will ask what that big ‘B’ is for.
!token [monster name]

Or you can get the image for a monster:
!monimage [monster name]
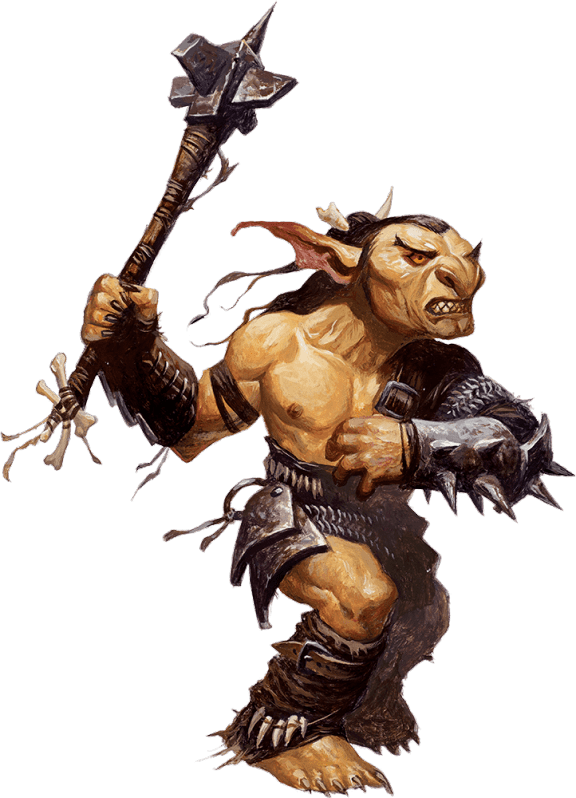
I tend to use the round tokens if I’m on a navigation map – say a map of a village or of an area. The full images I use on combat maps.
Making rolls
The dice syntax is really powerful. I don’t use it – I just use it for simple rolls. Again, my brain is full and I worry that if I learned the whole dice syntax I’d have to forsake some other knowledge that might be more useful. For simple rolls like this, it avoids having to do maths:
!roll 2d20+4
Making random names
This is really useful when you’ve invented an NPC and someone asks for their name. Do not hesitate when asked, run this and then say the name as if you had it all along.
!randname [optional race]
Getting rules and stats information
There are plenty of lookup commands that bring back 5e rules and other information. These are the ones I tend to use. Especially the condition rules for some reason.
!monster goblin
!condition grappled
!spell mage hand
Er… that’s it
And those are all the commands I use. I know it’s a much richer tool – there are more commands and the commands I’ve shown here have more options. But this is what I do. I find them very powerful on their own and also empowering. You might find the same.
One last thing, Avrae encourages you to type !help. Do not be scared if you do this – so much stuff appears and it’s really difficult to know where to start. When you’re comfortable running a few commands and using the basics in-game, then you can look into the abyss run the help command safely.
